Live Translation (Beta)
MyClass Translate is a powerful new tool that provides real-time captioning, translation, and text-to-speech for your classroom. This feature is integrated directly into MyClass existing lessons and is also available as a separate feature, which means you can use it with pre-existing content, create content on-the-fly during your caption session, or use it as a standalone live captioning solution.
MyClass Translate provides several key benefits:
- Live Captioning: Display captions on your front-of-class display for all students in the class to see, or students can view on their own connected devices.
- Real-time Translation: Captions can be instantly translated into a language of your choice on your front-of-class display or students can control individually.
- Text-to-Speech (TTS): Students can additionally listen to the lesson in their own language through synthesized text-to-speech voices.
Getting Started
You can use any computer, laptop, tablet, or even your front-of-class interactive panel. An external microphone is recommended to reduce picking up classroom background noise.
For ultimate classroom freedom and student engagement we recommend FrontRow classroom audio solutions (UNITY, ezRoom, or Juno) connected to your PC, Mac, Chromebook, or panel, which can be easily connected via a Line Out or USB-C connection. The device’s microphone will capture your voice and send the audio signal to your computer.
Using Translate as a Standalone Solution
Step 1: From your device, go to https://joinmyclass.com/ and sign in.
Step 2: Click the Translate (beta) icon in the shortcut area of the MyClass dashboard.

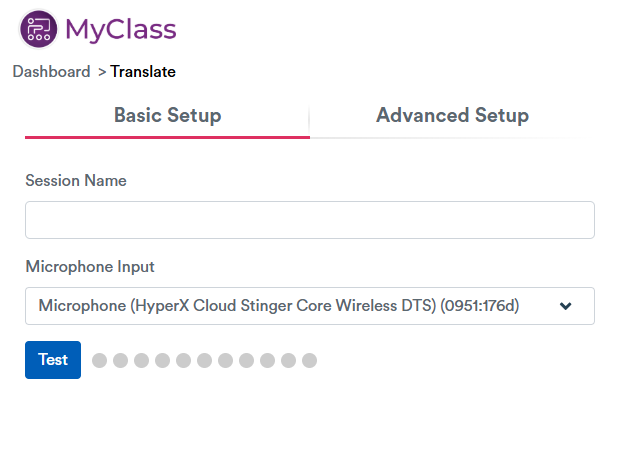
Step 3: On the setup page, name your session and check your microphone input.
Step 4 (Optional): For your students to have translation and speech playback options, go to the Advanced Setup tab and check the boxes for Enable Translations and Enable Speech Playback. You can also customize the appearance of the captions here, which will apply to the front-of-class display. Connected students will be able to set their own display preferences.
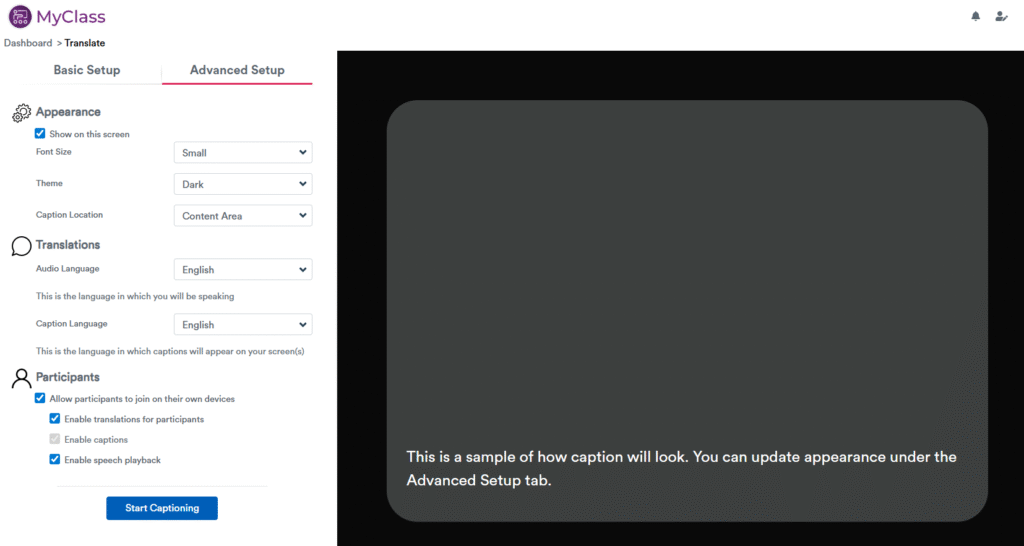
Step 5: When you are ready to begin, press “Start Captioning”. Your live caption session will begin and students will have the opportunity to connect to your session on their own devices if you left “Allow participants to join on their own devices” ticked.
As you speak, you will see the transcriptions appear on the screen. There may be a slight delay as the service processes the audio for the best translation.
Using Translate with any MyClass Lesson
You can benefit from live captions and translation in a whiteboard session or when using any existing MyClass content you’ve created, or even a brand new lesson.
Step 1: From your device, go to https://joinmyclass.com/ and sign in.
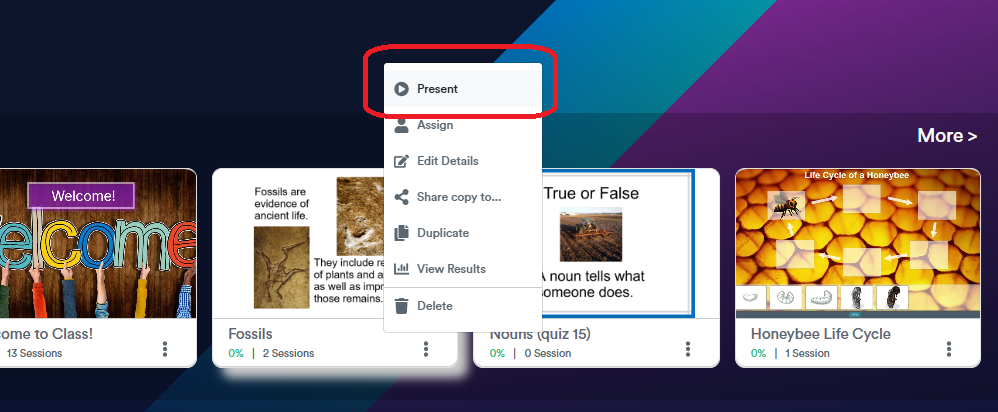
Step 2: Find the lesson you’d like to present from your “My Lesson” shortcut or from your Recent Lessons area (pictured below). From the menu, click “Present”, and set up your presentation to your preferences. You can also simply click “Create” if you’d like to start a new lesson from scratch and create it in real-time.
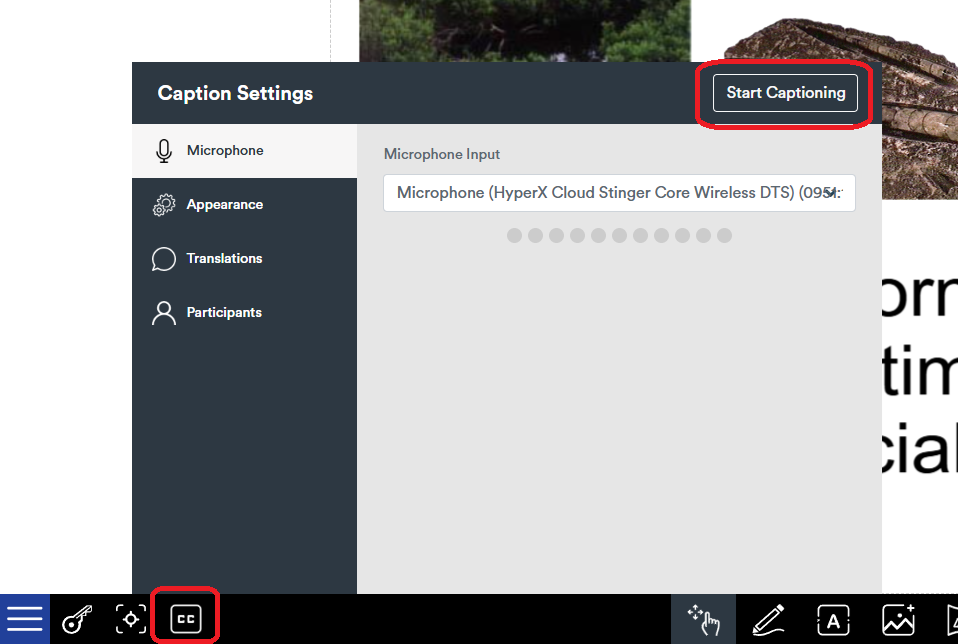
Step 3: From the bottom bar, click the “CC” icon and the captioning options will be displayed. Select your input, appearance preferences, translation options, and the options available to your participants, then select “Start Captioning”.
Your live caption session will begin. As you speak, you will see the transcriptions appear on the screen. There may be a slight delay as the service processes the audio for the best translation.
Joining a Session – Students
Students can join your live session to view the captions and translations on their own devices.
- Students go to https://joinmyclass.com/ from their devices, such as iPad, Android tablet, Chromebook, or laptop, and type in the session code or scan the QR code displayed on your screen.
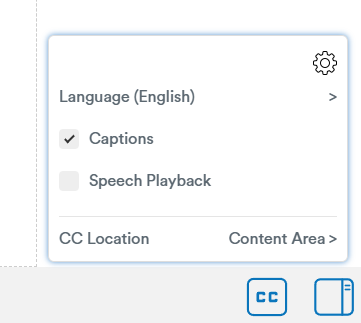
- Once joined, students can use their “CC” icon at the bottom right of their screens to toggle captions, change their language, and toggle text-to-speech synthesis if it is enabled in the session.
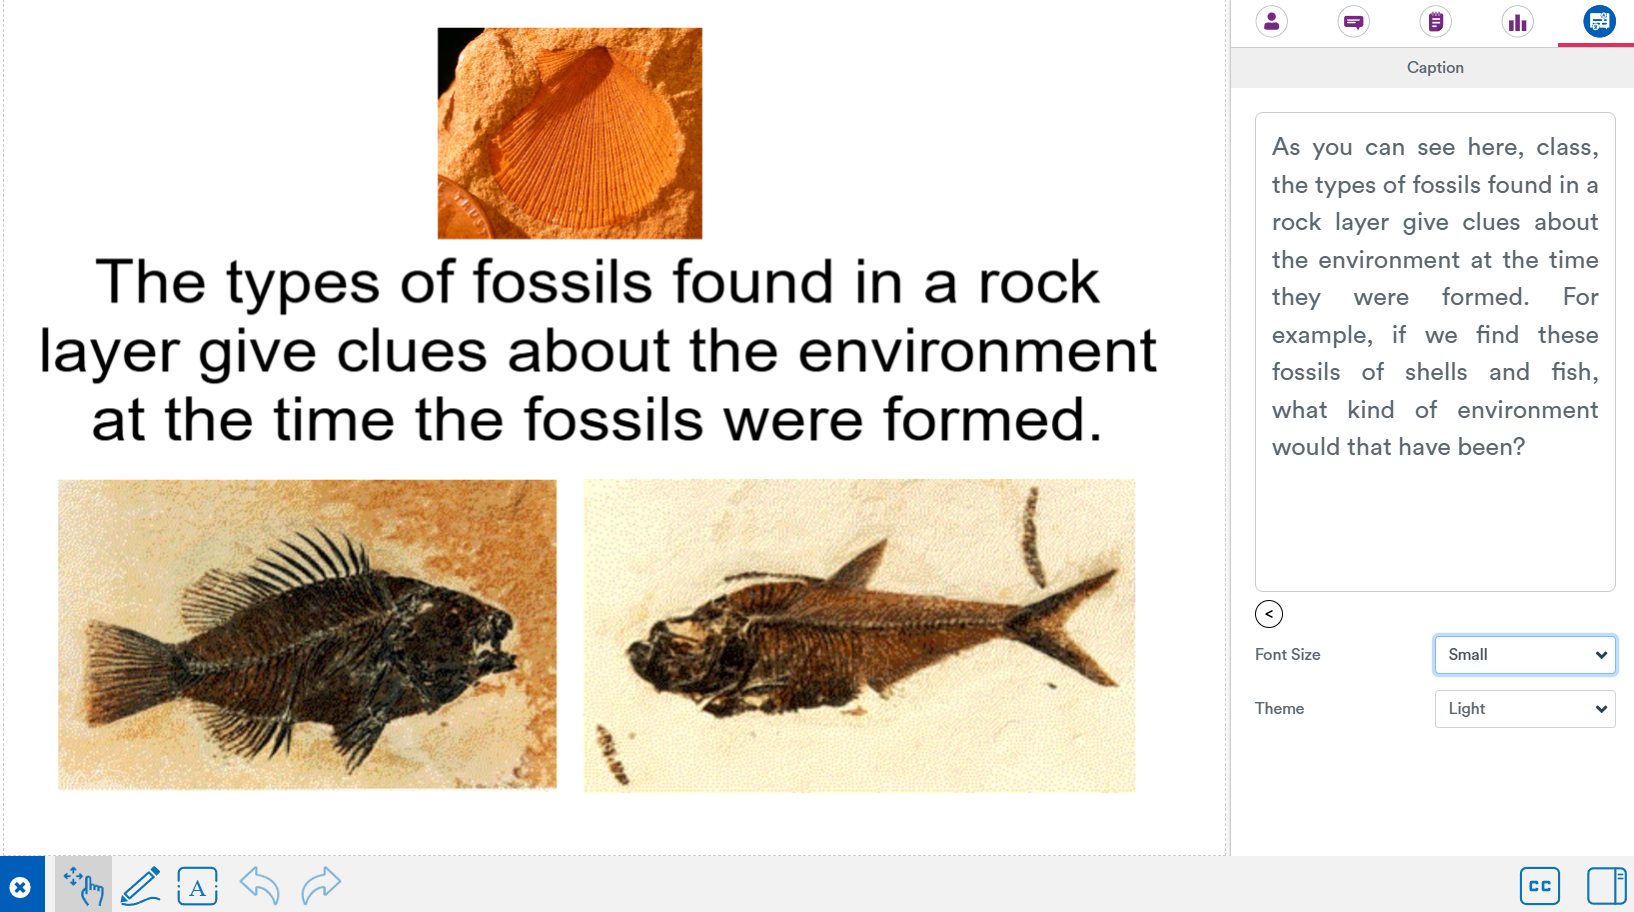
Student view with captions in the sidebar:
Text-to-Speech (TTS) Troubleshooting
MyClass Translate relies on your device’s TTS services for voice-over. The quality of the voices can vary depending on which device and operating system the student is using. Some devices may require additional voice packs to be downloaded for a more natural-sounding voice.
Below are guides for how students can download or enable high-quality voices on their devices.
On a Chromebook
- Go to Settings > Accessibility > Manage text-to-speech settings.
- Under Preferred voice settings, select the language you have added.
- You should now see the available voices, such as Google’s high-quality voices.
On Windows
- Go to Settings > Time & Language > Speech.
- Select Add Voices and choose the language you want.
On a Mac
- Go to Settings > Accessibility > Spoken Content.
- Next to System Voice, click the Info button.
- In the dialog box, select the voice option and download the Enhanced version for the best quality.