Managing Schools
The Boxlight Admin Portal supports multiple schools for use on a District-wide scale. Adding each individual school is beneficial as users, licences, and devices can be managed easily and effectively.

To get started, sign into the Boxlight Admin Portal at https://account.boxlight.com
NOTE: If you are using a supported LMS connection, your schools may be automatically synchronized with your LMS. If this is the case, you should continue to make changes to your school list in your LMS and they will sync within 24 hours.
Adding a School
Manual Process
To add your schools manually, click “Schools” on the left menu bar. You will see that the list is empty on first entry.
Click “ADD” and enter the details. A default icon will be assigned if you do not upload your own logo.
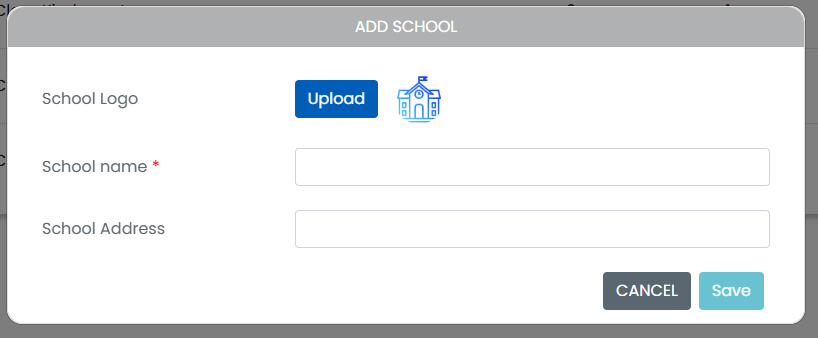
Click Save and the school will be added. You can repeat this process as many times as needed to add each school.
Automated CSV Import
To add your schools via CSV import, click “Import .csv” and you will be prompted to upload a .csv file.
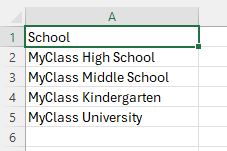
Please note that CSV lists of schools or rooms must be single-column only with a header of ‘School’ or ‘Schools’. An example created in Excel might look like this. Ensure you save out as a .csv file.
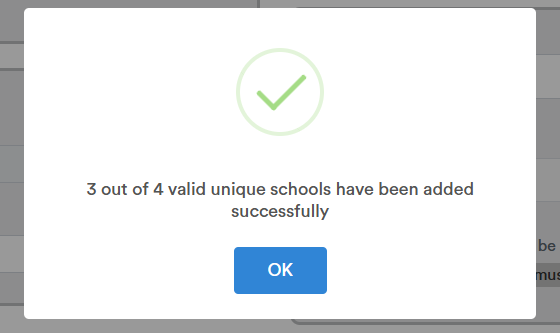
If the schools in the uploaded CSV file don’t yet exist in the Boxlight Admin Portal, they will all be added. In the case that a school already exists in the system, you will be informed that not all schools were added.
In this example, the school “MyClass High School” was added manually, so only 3 additional schools wil be added.
Editing or Removing Schools
Schools can be edited or deleted using the Action buttons.
Warning! Deleting a school will result in the removal of all rooms associated with the school including connections, users, licenses, and linked devices – please proceed with caution.