Creating a Drag & Drop Activity
MyClass can help you create vibrant and meaningful learning interactions with the Darg and Drop question type.
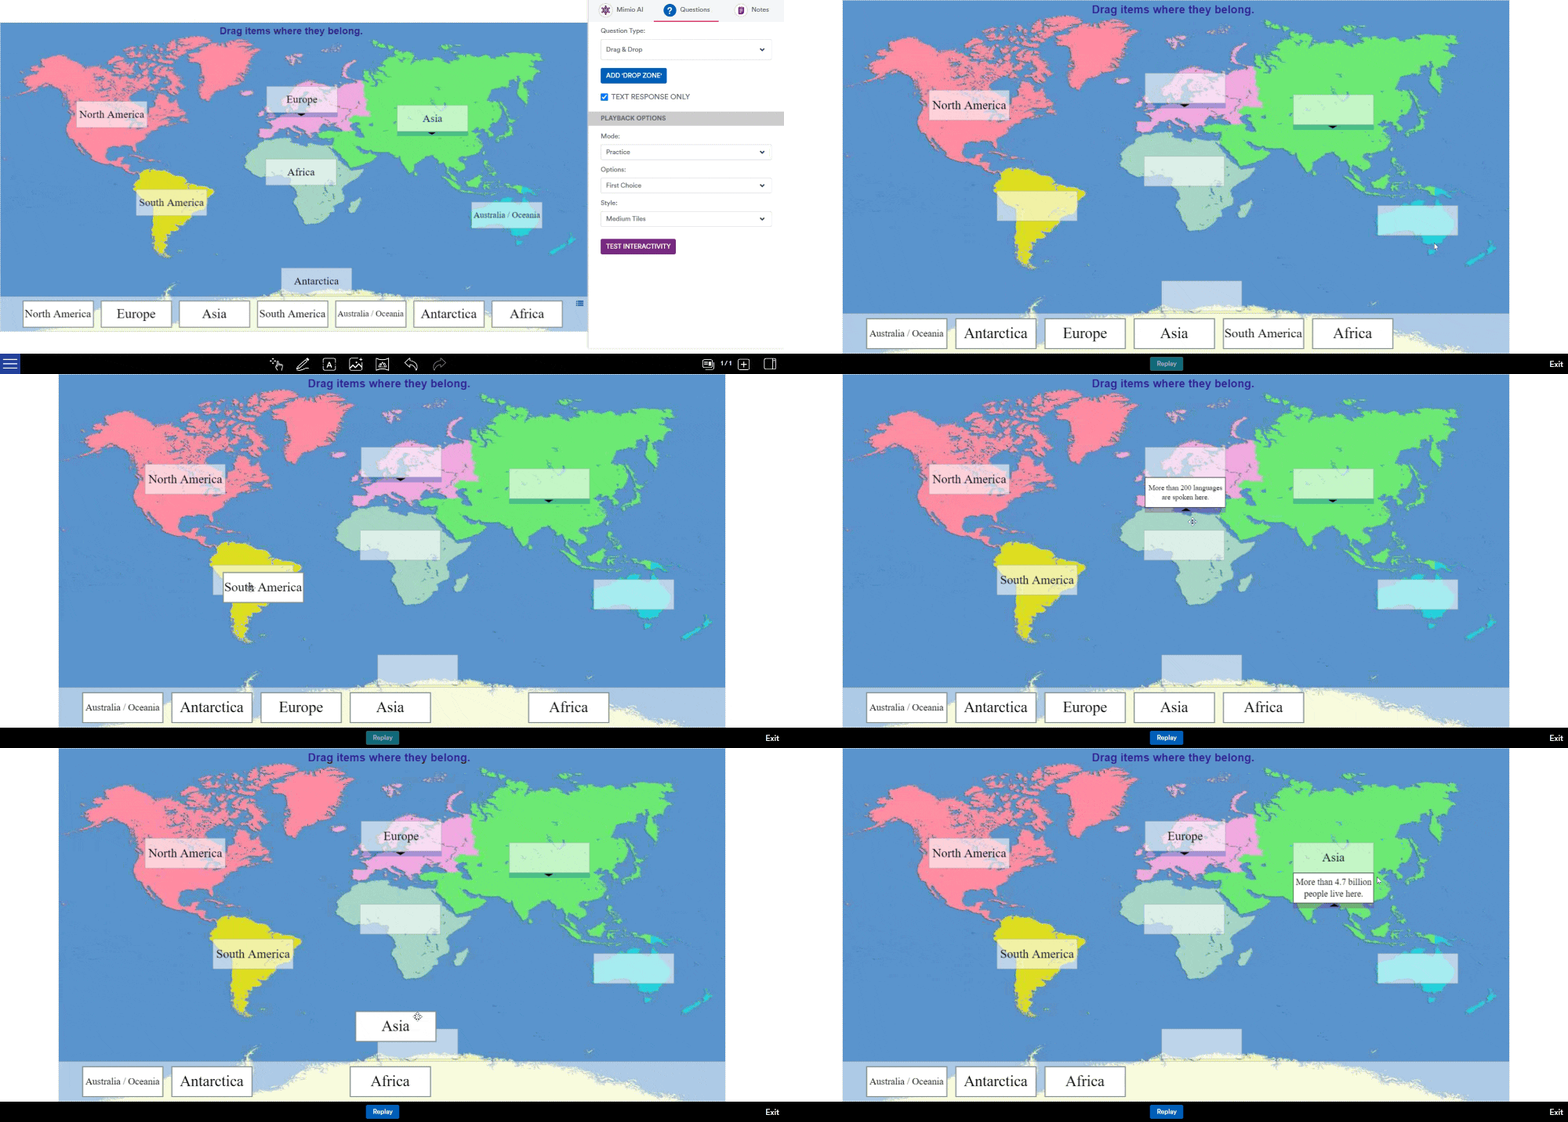
In this example, we are going to add a drag and drop activity on “Continents of the World”, with the final outcome looking like this for students:

Drag and Drop Activity Setup
Step 1: Open Whiteboard or open an existing lesson to a blank page for best results.

Step 2: Navigate to the slide you would like to add the Drag and Drop activity on, and open the Sidebar if it is not already open, by pressing the “sidebar” icon at the bottom right of the screen.

Step 3: Select the “Questions” tab.

Step 4: Choose “Drag and Drop” from the list.

Step 5: The Drag and Drop options will now appear and you are ready to add Drop Zones to your whiteboard.
Setting Up Your Slide
In many cases, your slide will likely have an image or multiple images. These can be added via the Background icon or the Add Media icon as necessary. In our example, we will be adding a background of a map of the world.

Adding Drop Zones
Step 1: Decide if you would like short text options, or a mixture of text and images.
Use the “Text Response Only” checkbox to alternate between text-only, or text and images. Note that if you uncheck this box, your existing text response will be converted to the larger format. However if you have images and you check the box, they will be lost – so take care with this option.
Step 2: Create your first drop zone.
As we are doing an activity on Continents of the World, we know we will have 7 drop zones: Asia, Africa, North American, South America, Antarctica, Europe, and Australia/Oceania.
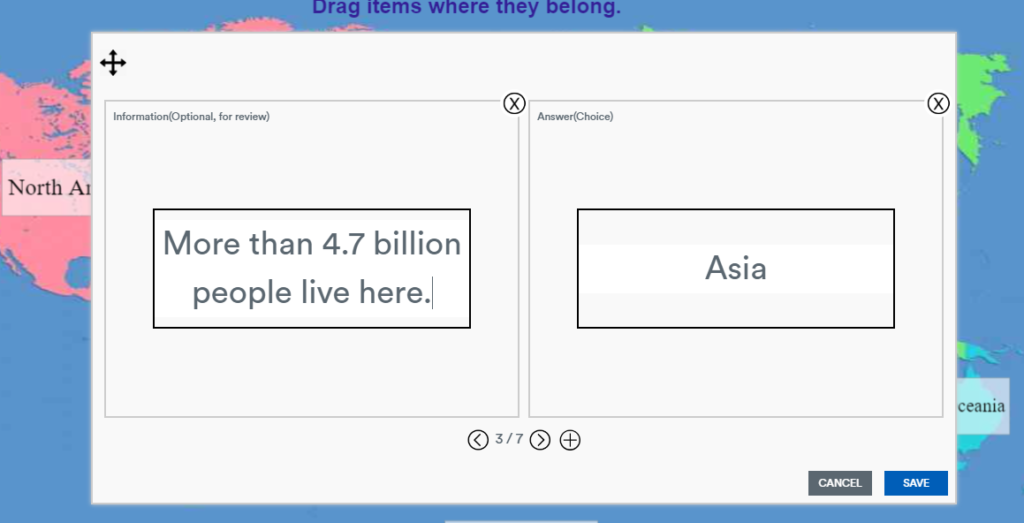
To start, add one drop zone and double tap it. An editing dialogue will appear, and you can enter the contents of the drop zone into the right hand side. The left hand side can be used for optional additional information which the student can expand to gain a clue or see more information about any given drop zone.

Each drop zone can be moved around and placed as needed on the whiteboard area.

TIP: Instead of clicking “Save” after each drop zone is added, add more options using the + icon at the bottom, and repeat to create multiple drop zones which you can then re-arrange.
Choose Mode and Test Interactivity
You should now have a completed Drap and Drop slide set up, similar to the example below.

Step 1: Choose the mode you’d like to present this Sorting question as.
- Learn – All options are displayed on the screen, no interactivity is available.
- Practice – Students are able to drag the content but will only “snap” into the correct category.
- Assessment – Students are able to drag the content anywhere, and submit their choices to right or wrong feedback.
- Student Choice – Allow the student to make their own selection.
Step 2: Choose how many options to present to your students
- First Choice – Adds the first answer option to help your students get started
- 1 Choice (Random) – Adds a random answer option to help your students get started
- 2 Choice (Random) – Adds two random answer option to help your students get started
You can test and play with the content you just created, before saving and presenting your lesson.
Step 2: Test Interactivity! Once you are happy with how your slide works, you can save your lesson, and present to your class.
