Creating a Sorting Activity / Game
MyClass can help you create vibrant and meaningful learning interactions with the Sorting question type. Sorting questions are great for helping students with early numeracy and literacy, problem solving, and reasoning skills.
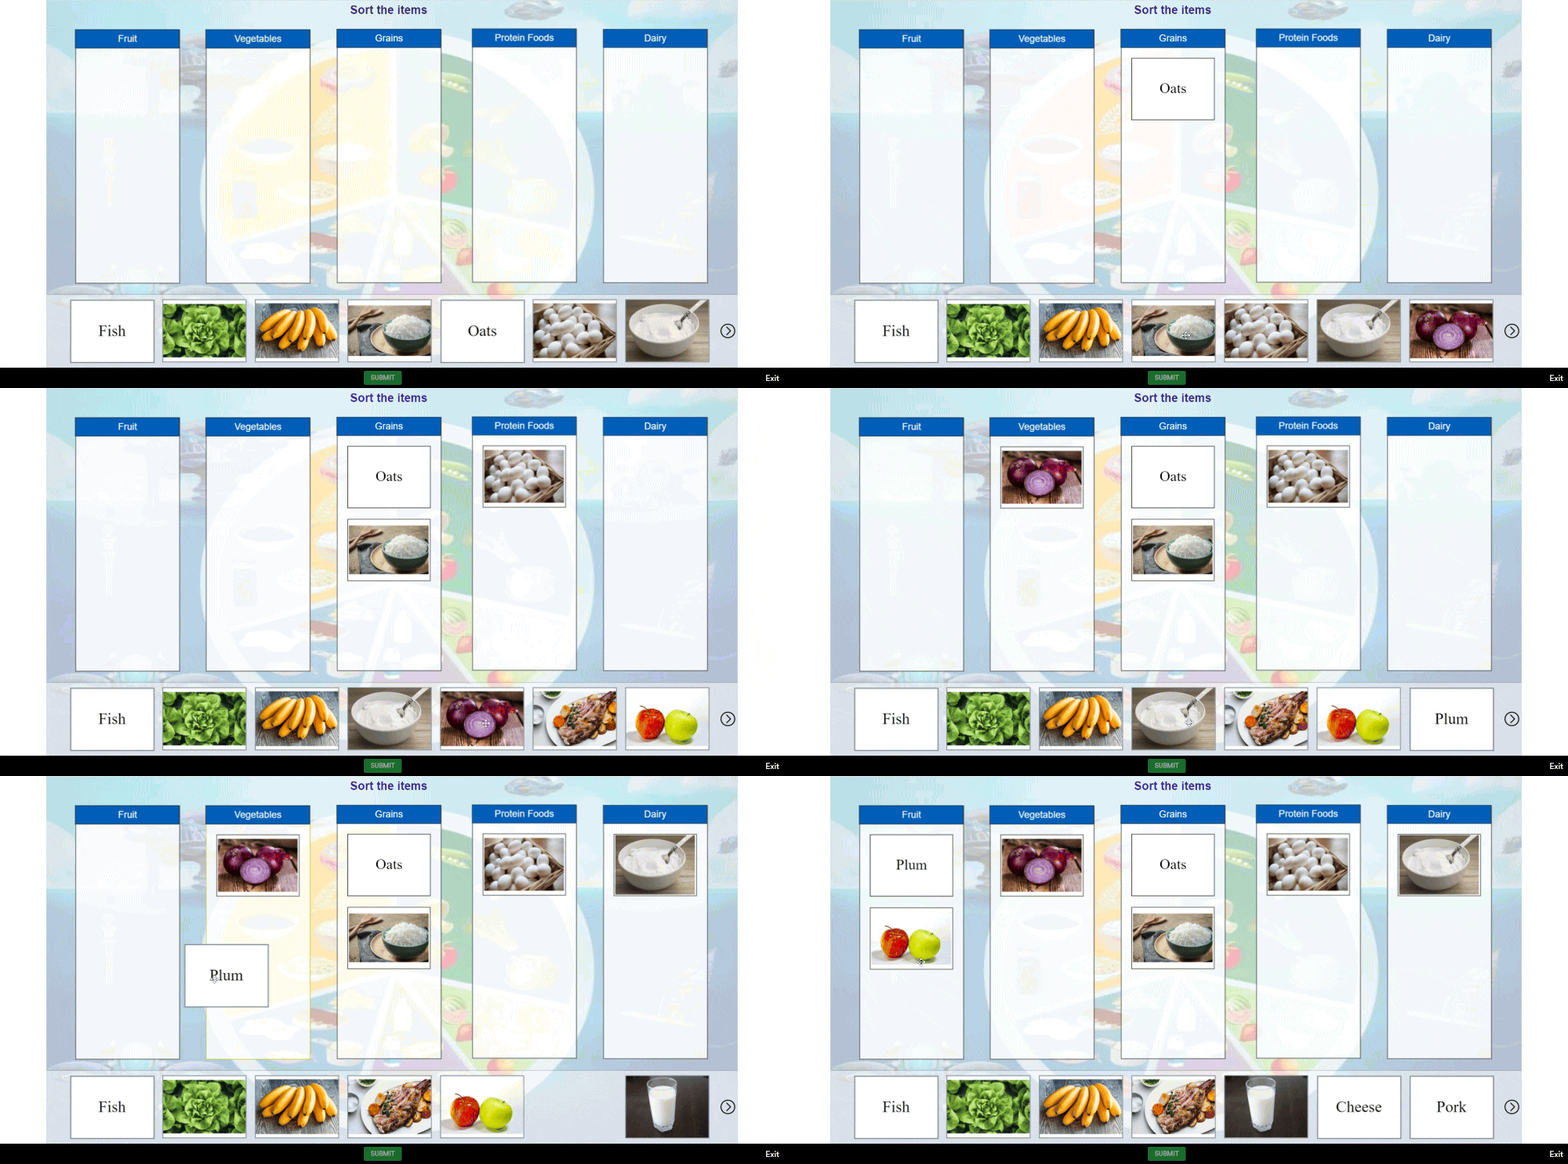
In this example, we are going to add a sorting activity on “Food Groups”, with the final outcome looking like this for students:
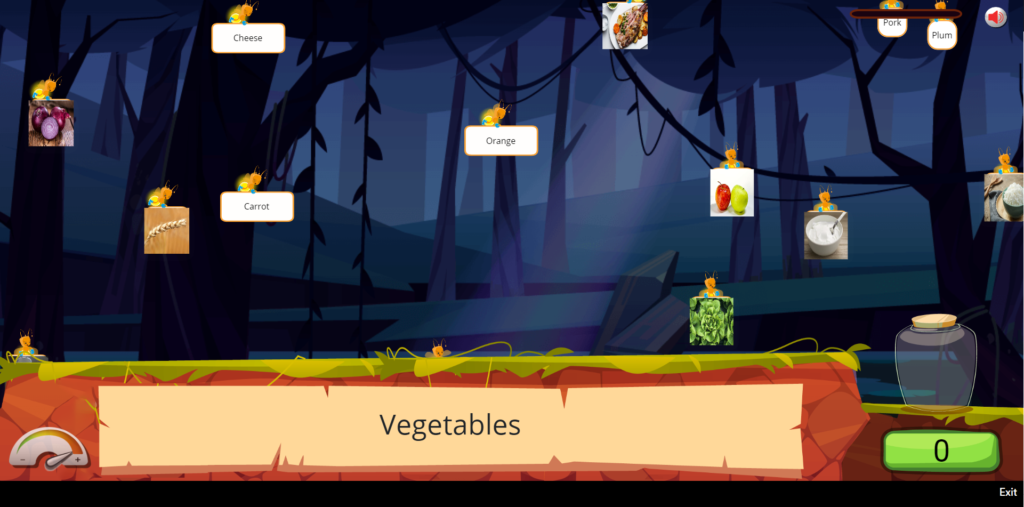
Game Mode example:
Sorting Activity Setup
Step 1: Open Whiteboard or open an existing lesson to a blank page for best results.

Step 2: Navigate to the slide you would like to add the Sorting activity on, and open the Sidebar if it is not already open, by pressing the “sidebar” icon at the bottom right of the screen.

Step 3: Select the “Questions” tab.

Step 4: Choose “Sorting” from the list.

Step 5: The Sorting options will now appear and you are ready to add content to your slide, starting with Categories.
Adding Category Containers
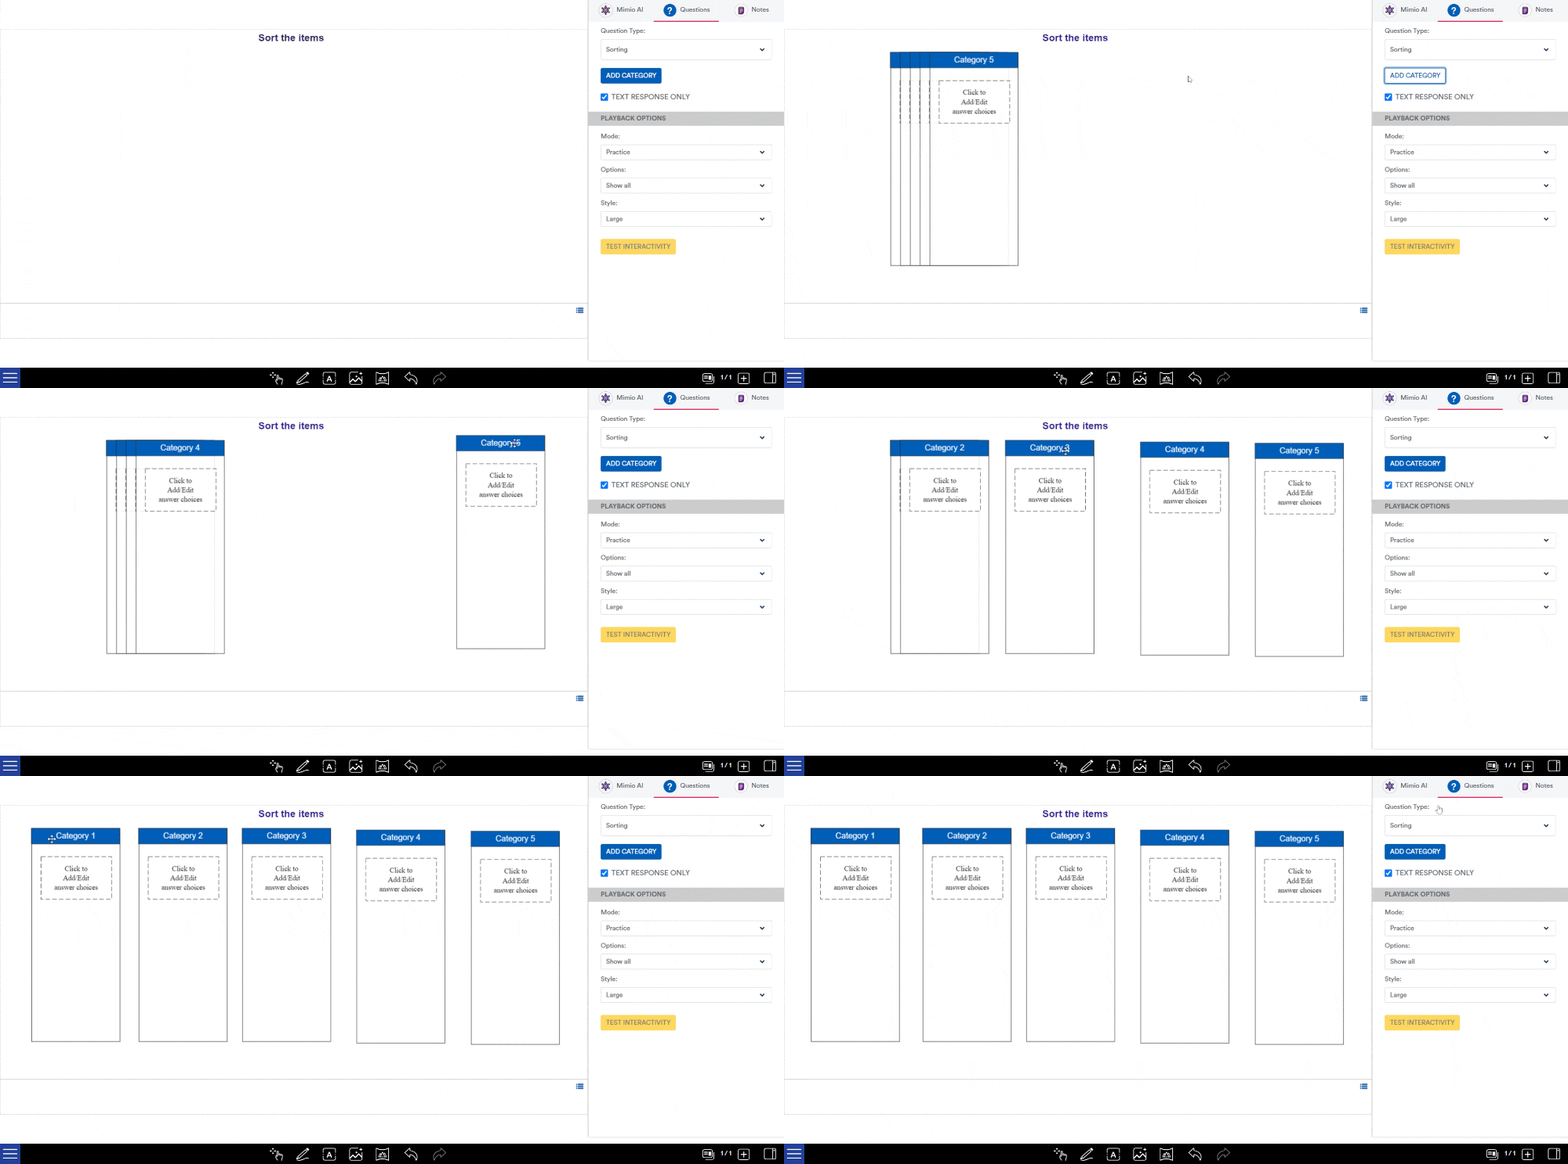
If you know how many categories you want, you can add them all at the same time, or you can perform these steps one category at a time. As we are doing an activity on Food Groups, we know we will have 5 categories: Fruits, Vegetables, Grains, Protein Foods, and Dairy.
Each category can be moved around and placed as needed on the whiteboard area.
Step 2: Decide if you would like short text options, or a mixture of text and images.
Use the “Text Response Only” checkbox to alternate between text-only, or text and images. Note that if you uncheck this box, your existing text response will be converted to the larger format. However if you have images and you check the box, they will be lost – so take care with this option.

Adding Content to your Category
Step 1: Double tap / double click the category you would like to edit.
From here, you can edit the category name, and also add the answers which will fit in this category.
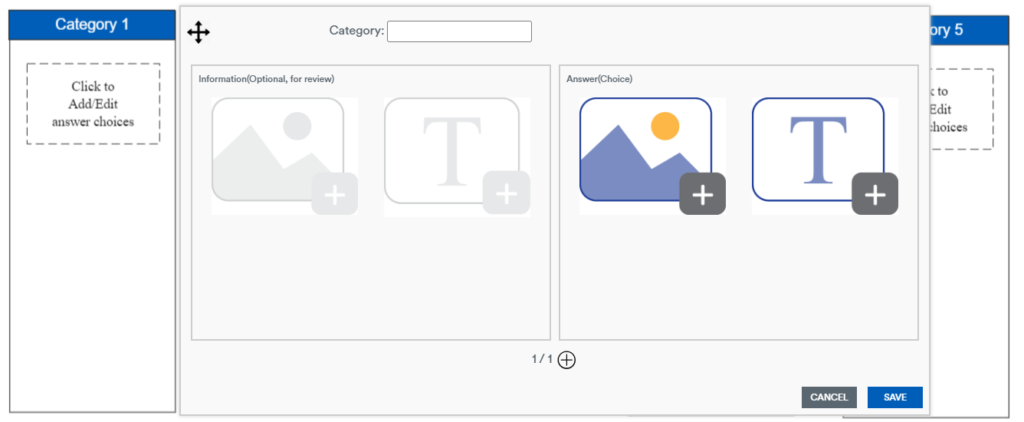
Step 2: Add answer choices to the right hand side of this dialogue. The left hand side is used for optional or informational purposes, which the student can expand and read after they have correctly sorted the item.
If you would like an image, click the image icon. Otherwise, to type text, click the text icon. In this example, we will search for an image of a banana.
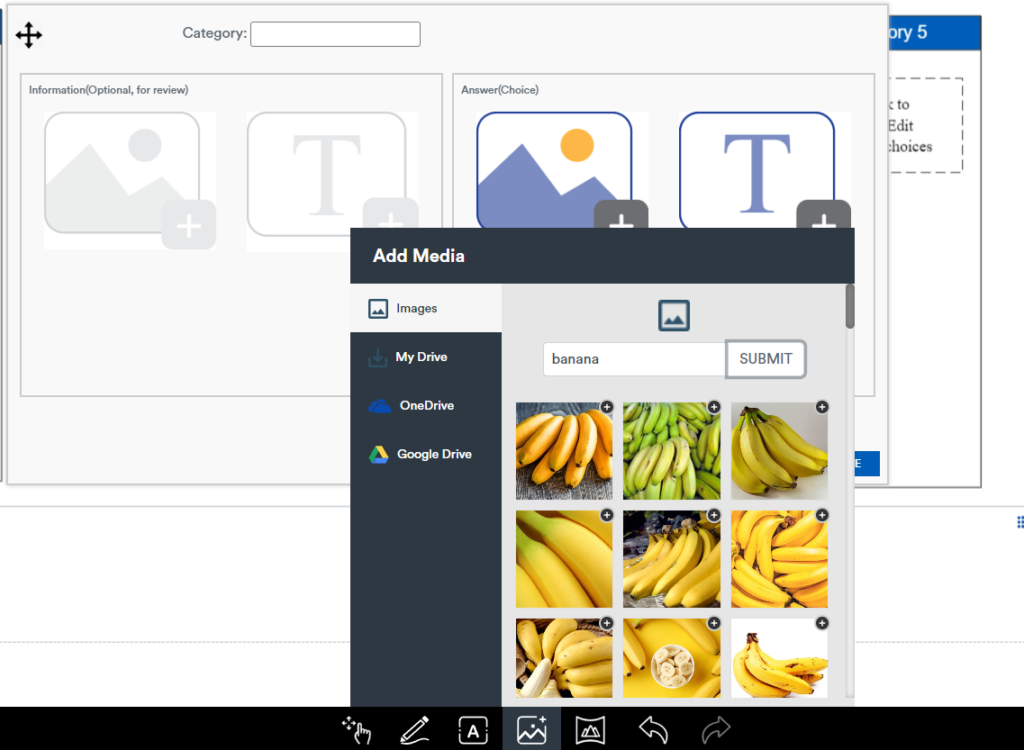
Step 3: Press the + on the image to choose the image, and add in extra information or supporting image if desired on the left hand side.
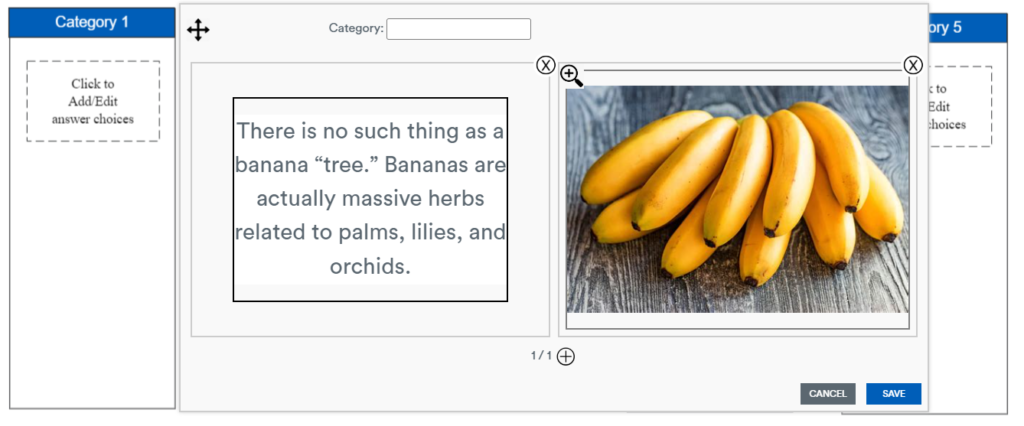
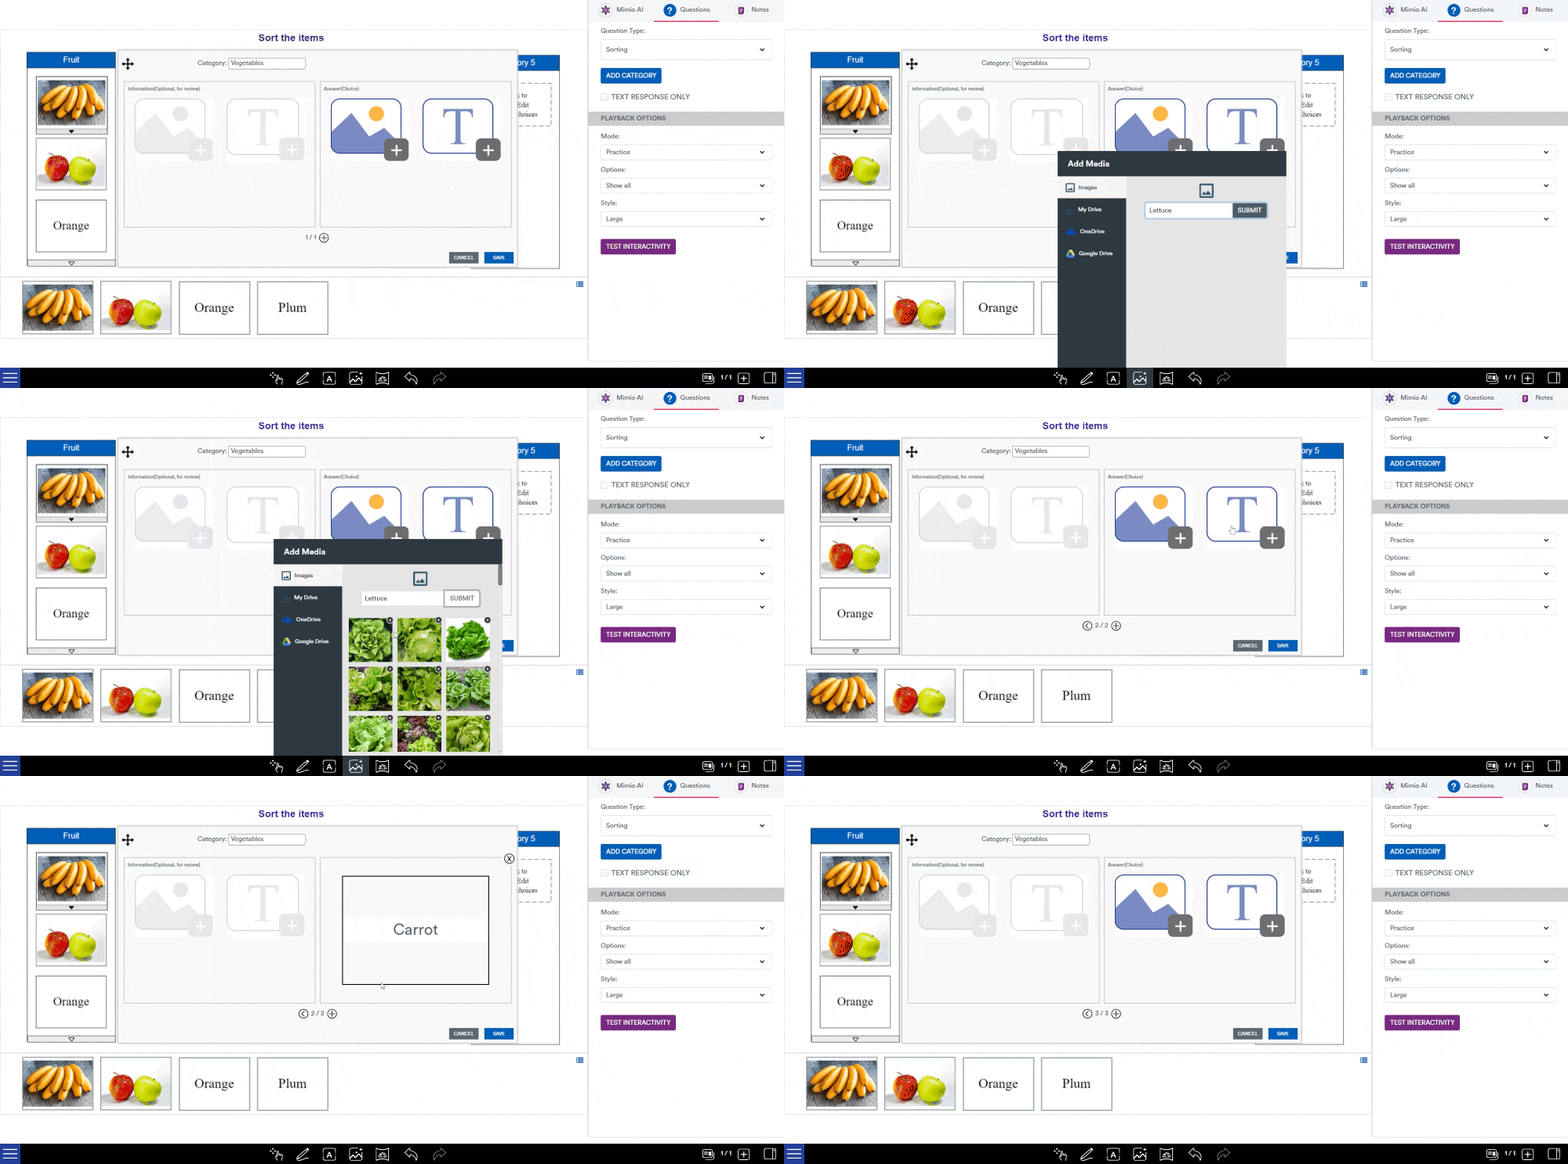
Step 4: Add more options using the + icon at the bottom, and repeat to add more content.
Step 5: Press “Save” to confirm your updates to the category, and repeat for all other categories.
Choose Mode and Test Interactivity
You should now have a completed sorting slide set up, similar to the example below.
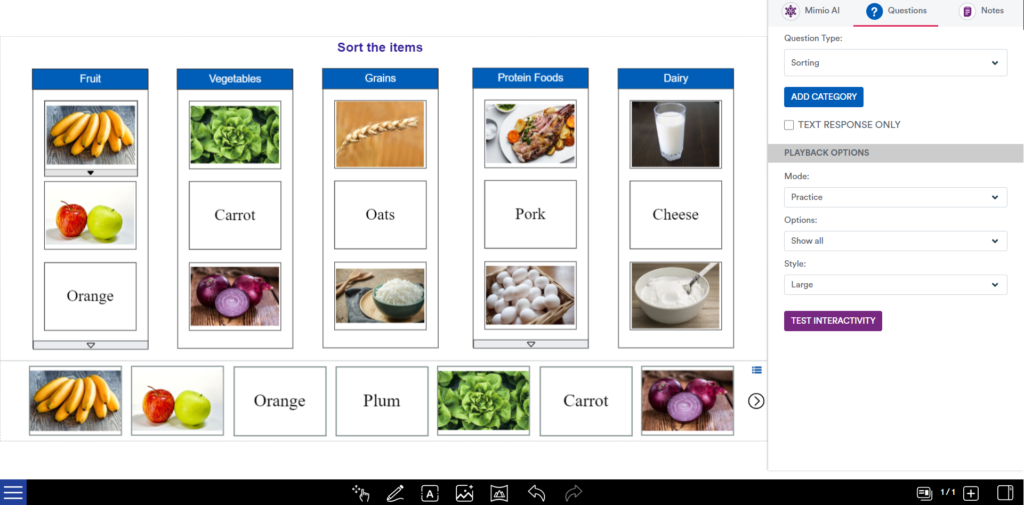
Step 1: Choose the mode you’d like to present this Sorting question as.
- Learn – All options are displayed on the screen, no interactivity is available.
- Practice – Students are able to drag the content but will only “snap” into the correct category.
- Assessment – Students are able to drag the content anywhere, and submit their choices to right or wrong feedback.
- Game (Ants/Aliens/Firefly/Drone): Students can play a game in an assortment of fun and engaging styles, with a different experience and category each time.
- Student Choice – Allow the student to make their own selection.
Step 2: Test Interactivity!
You can test and play with the content you just created, before saving and presenting your lesson.

Additional Options
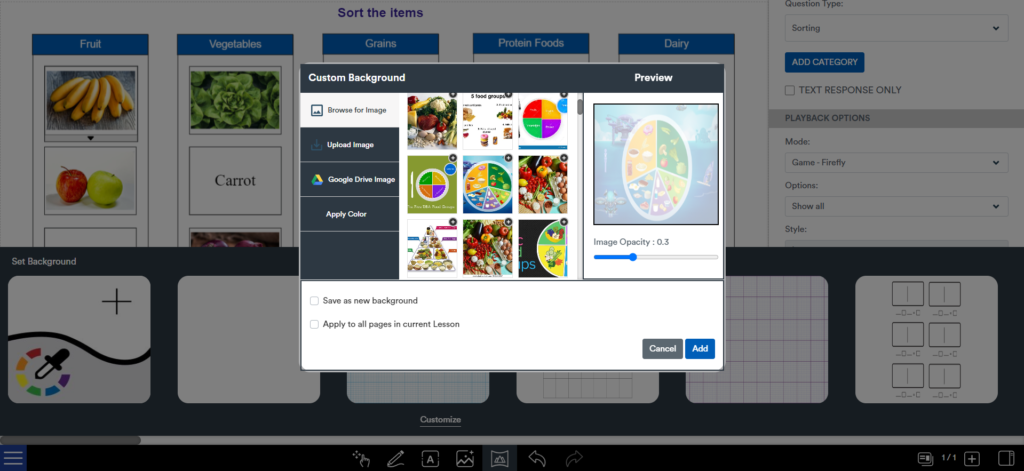
You may also like to give your Sorting slide a background, like a normal slide. Select the Backgrounds tab and then choose a default background, upload your own, or choose from an online image.
