Creating a Matching Pairs & Flash Card Activity / Game
MyClass can help you create vibrant and meaningful learning interactions with the Matching Pairs & Flash Card question type.
The main benefit of creating content using this question type is that it can be played time and again in various learning, practice, assessment modes in Matching and Flash Card format. Additionally, there are fun “Memory Blocks” and “Snap the Match” games to play.
Matching pairs and Flash Card activities are effective learning tools that boost memory retention through active recall and reinforce associations between concepts. They enhance cognitive skills like problem-solving, pattern recognition, and attention to detail, while fostering collaboration when done in groups. Flash Cards complement this by supporting self-paced learning, spaced repetition, and breaking complex topics into manageable chunks, making learning more interactive and engaging.
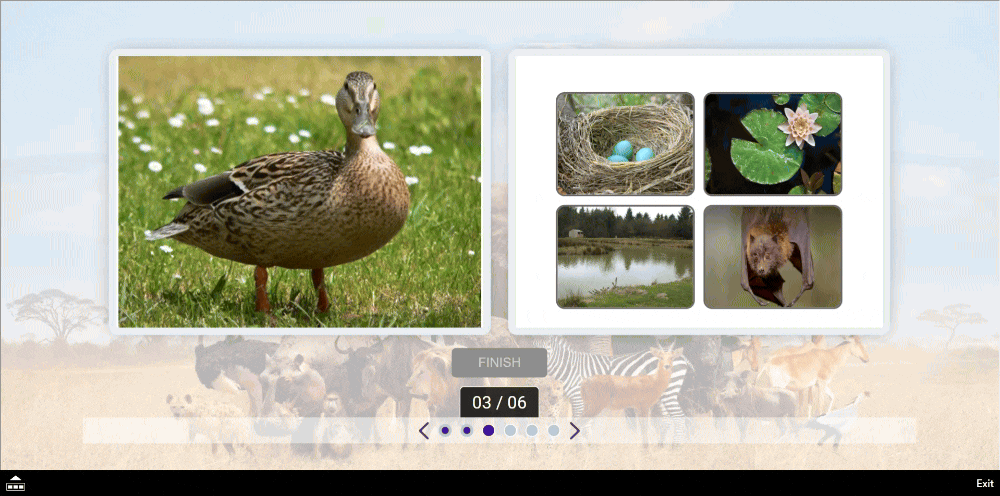
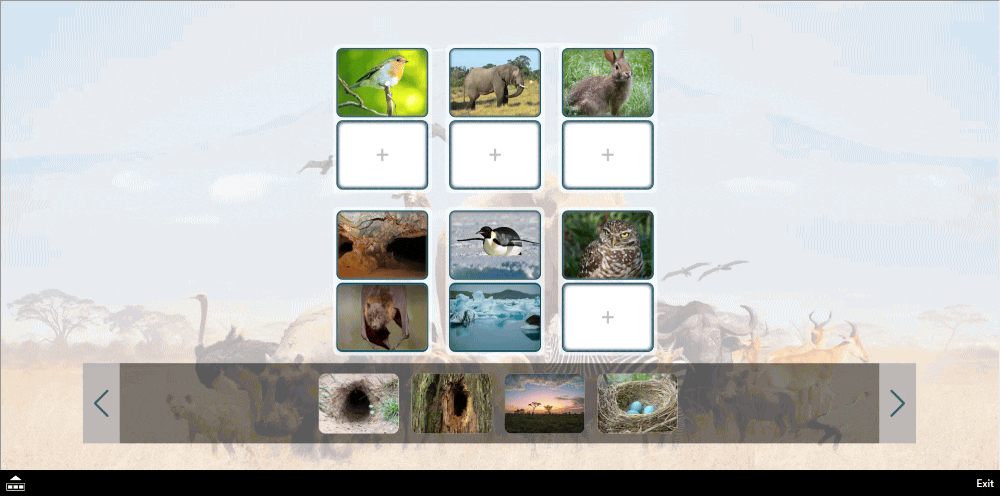
In this example, we are going to add a sorting activity on “Animals and their Homes”, with the final outcome looking like this for students:
Flashcard Assessment Mode:
Matching Assessment Mode:
Matching & Flashcard Activity Setup
Step 1: Open Whiteboard or open an existing lesson to a blank page.
Step 2: Navigate to the slide you would like to add the activity on, and open the Sidebar if it is not already open, by pressing the “sidebar” icon at the bottom right of the screen.
Step 3: Select the “Questions” tab.

Step 4: Choose “Matching Pairs / Flash Cards” from the list.

Step 5: The dialogue option will now appear and you are ready to add content to your activity.
Adding Content to your Activity
Step 1: If the dialogue window isn’t open already, click “Add / Edit Pairs”
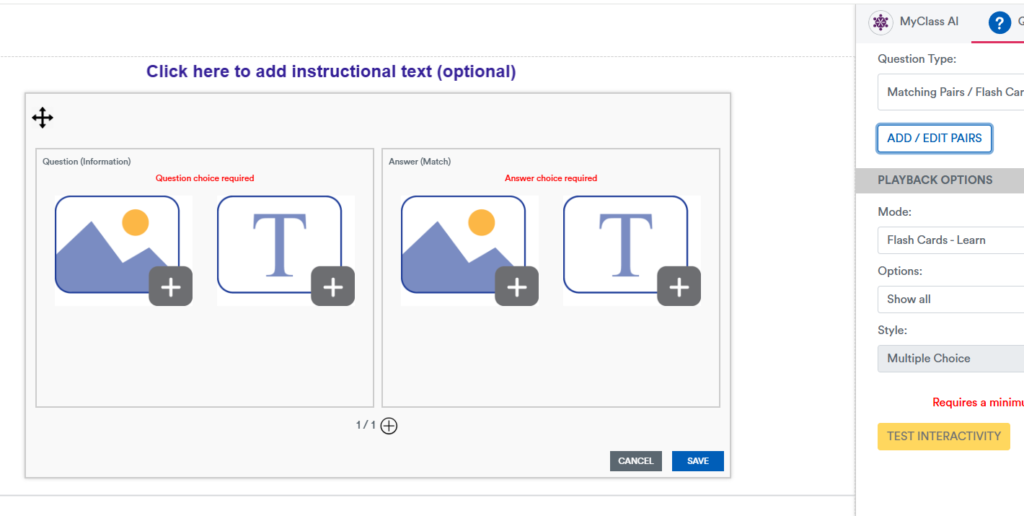
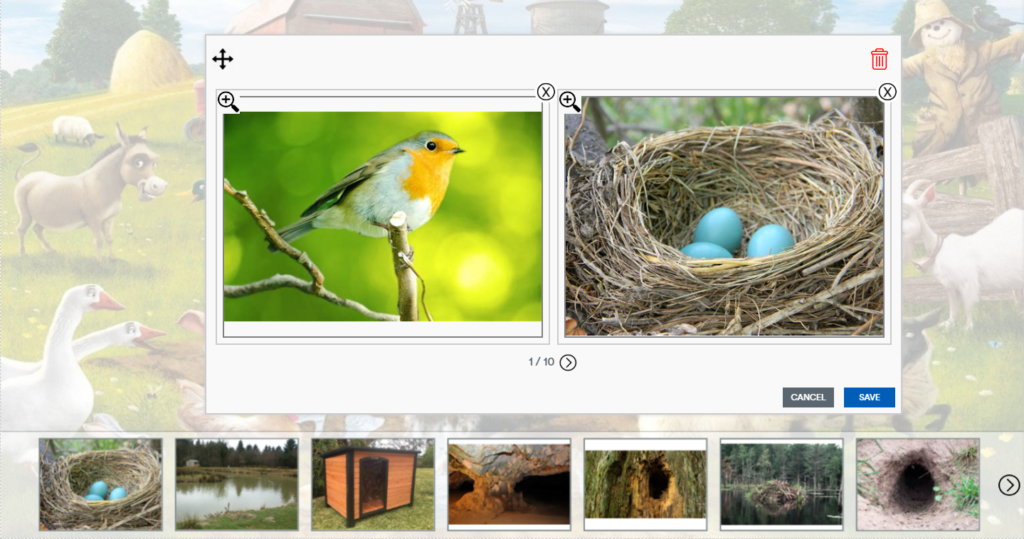
Step 2: Add the primary item to the left hand side of this dialogue. In our example, we are going to add the animal to the left hand side, and the animal home to the right hand side. If you would like an image, click the image icon. Otherwise, to type text, click the text icon. In this example, we will search for an image of a robin.
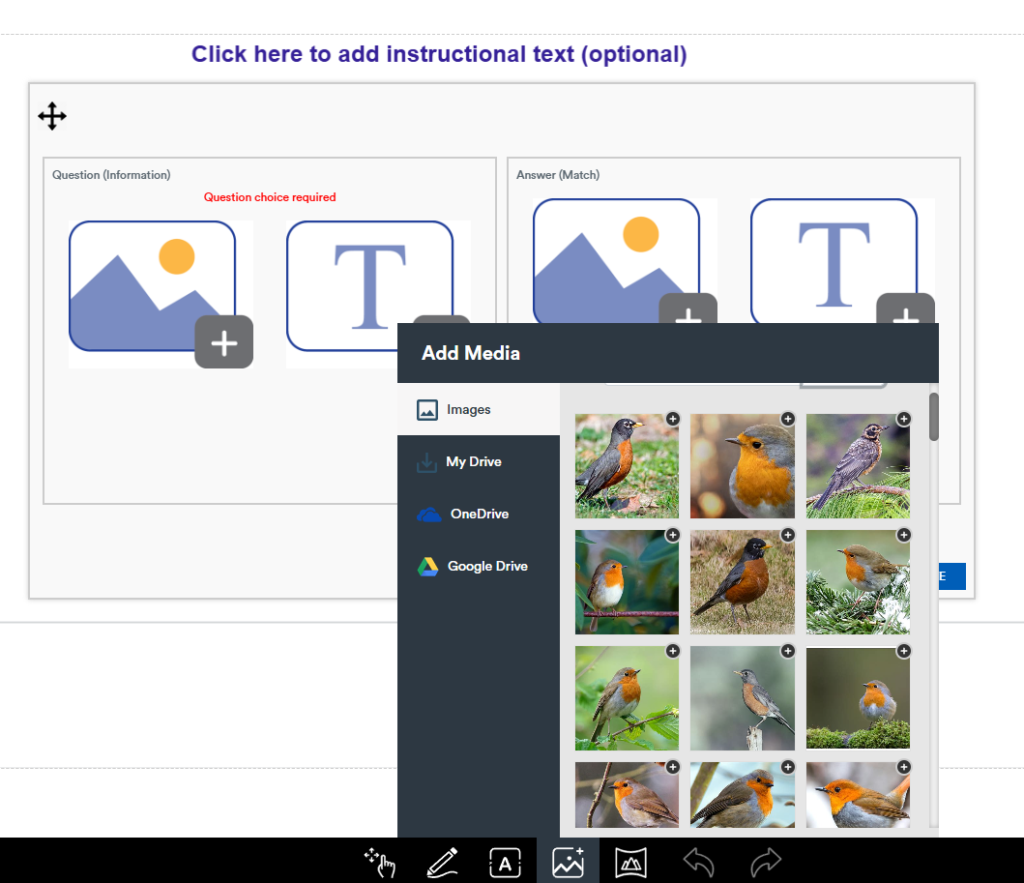
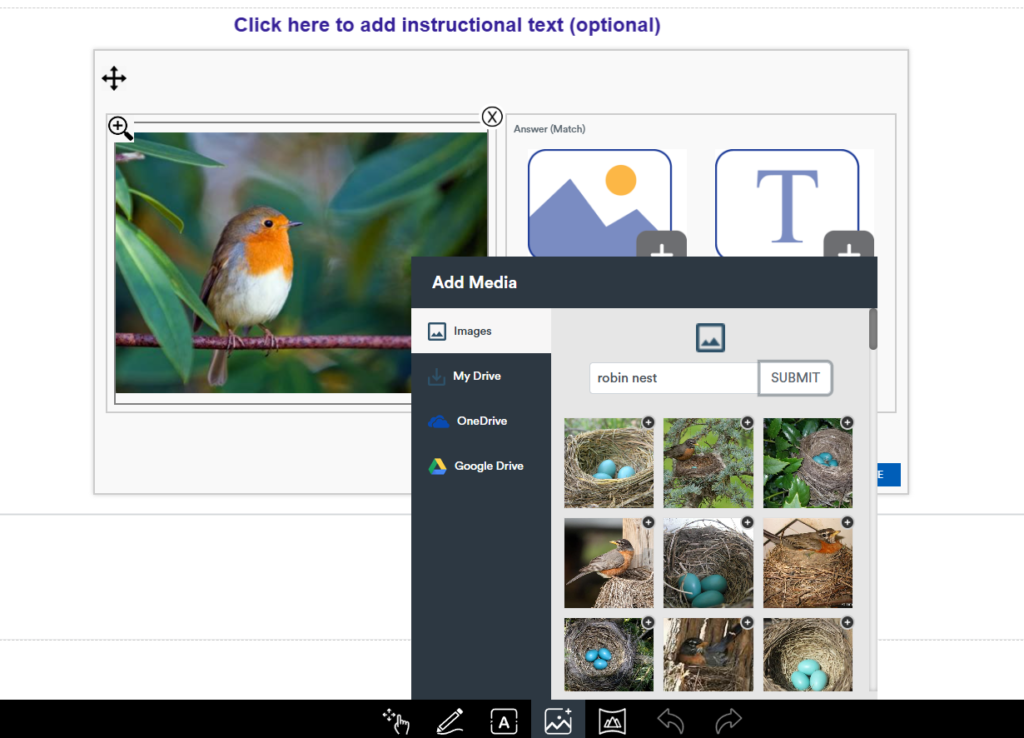
Step 3: Press the + on the image to choose the image. We are now going to add an image to the right hand side and search for “robin nest”. Again, press the + icon on the image to add it.
Step 4: You need to add at least 4 pairs. Continue to add more options using the + icon at the bottom of this dialogue, and repeat to add more content. You can also use text. For example, instead of searching for an image of a nest, you could type “Nest”.
Step 5: Press “Save” to confirm your updates after you have added at least 4 options. It’s a good idea to add lots of pairs if you can, as you can set the activities to only show a custom number of options to encourage students to replay the activity.
Choose Mode and Test Interactivity
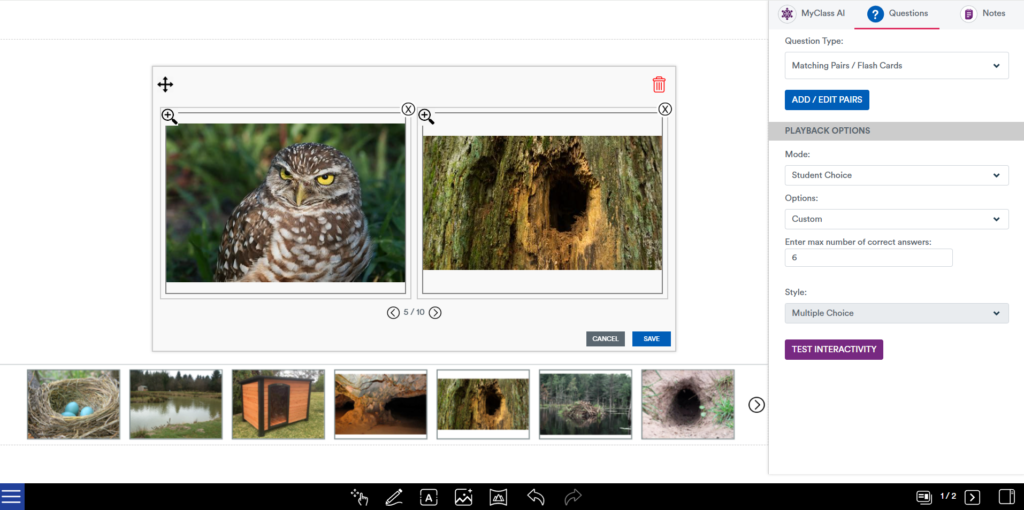
You should now have a completed sorting slide set up, similar to the example below.
Step 1: Choose the mode you’d like to present this question as.
- Matching and Flashcards each have these options:
- Learn – All options are displayed on the screen, no interactivity is available.
- Practice – Students are able to drag the content but will only “snap” into the correct category.
- Assessment – Students are able to drag the content anywhere, and submit their choices to right or wrong feedback.
- Sugar Ants / Drone Zone / Alien Attack / Firefly Frenzy – objects are carried around the screen and the student must click or tap the correct object.
- Memory Blocks – a memory matching game.
- Snap-The-Match – a match-the-object game with a fun polaroid camera theme.
- Student Choice – Allow the student to make their own selection.
Step 2: Test Interactivity!
You can test and play with the content you just created, before saving and presenting your lesson.
Additional Options
You may also like to give your activity slide a background, like a normal slide. Select the Backgrounds tab and then choose a default background, upload your own, or choose from an online image.